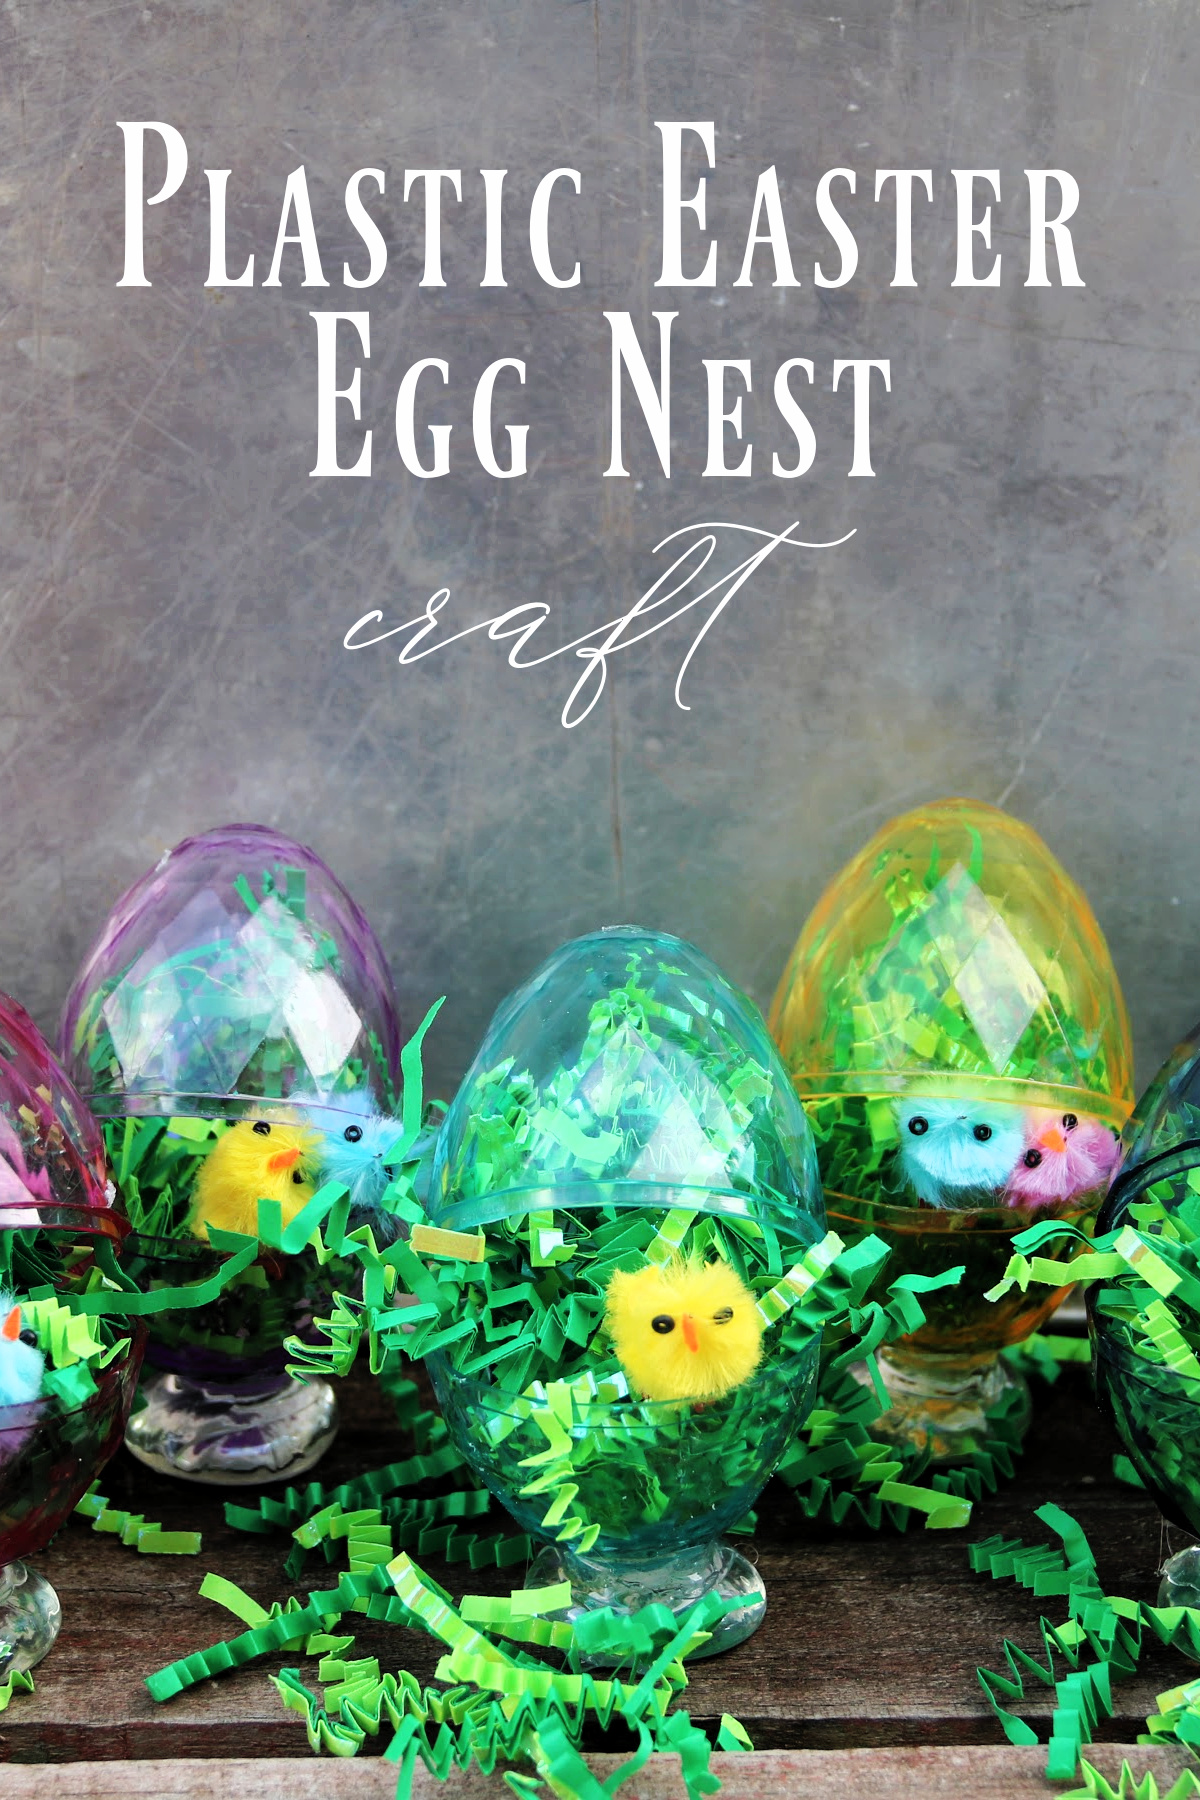
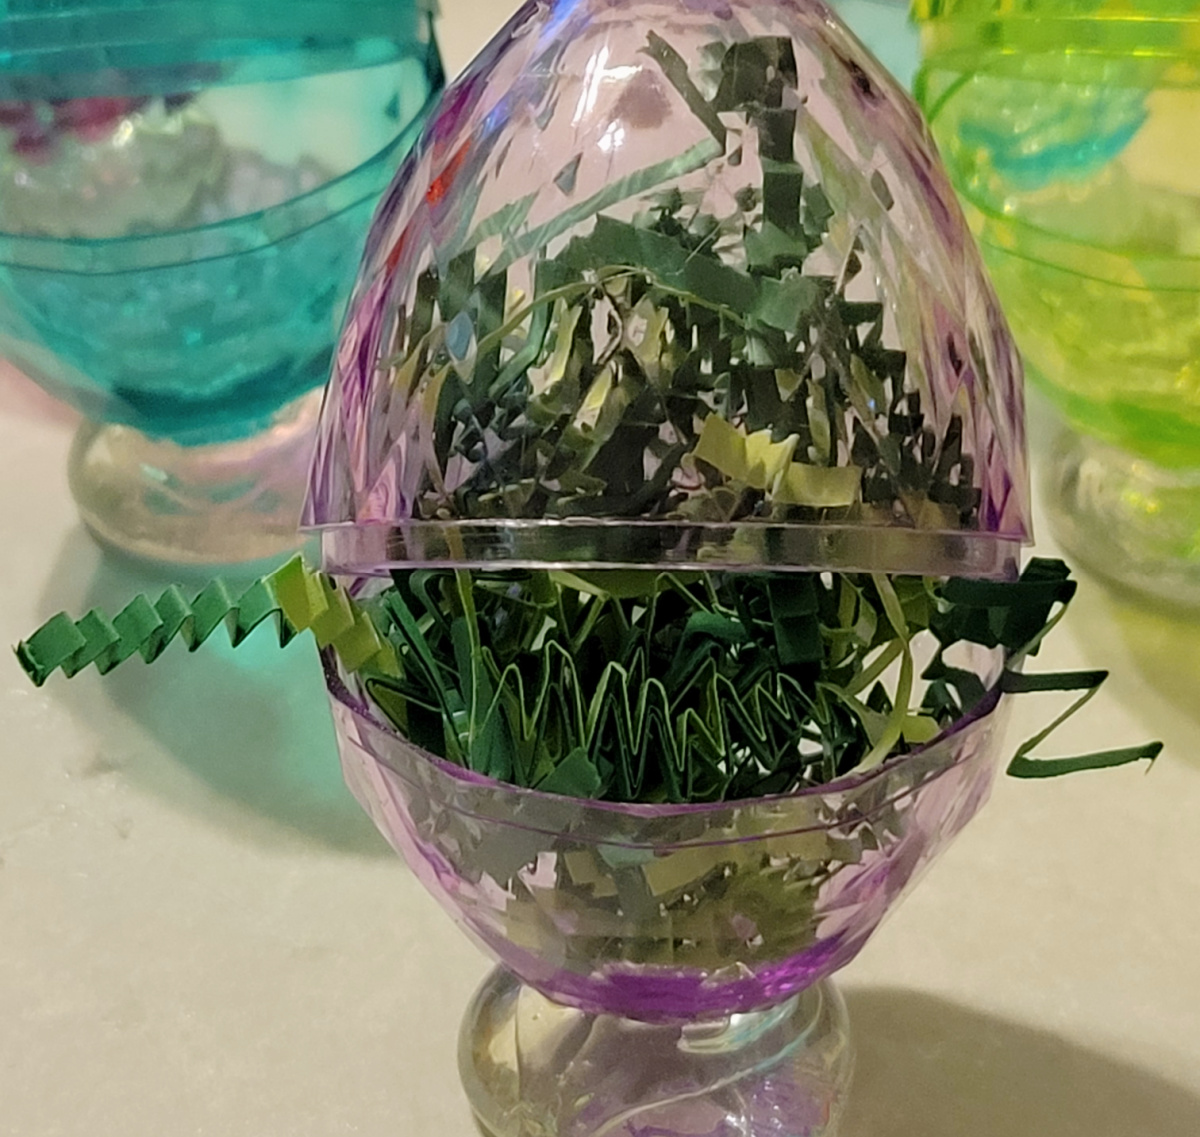
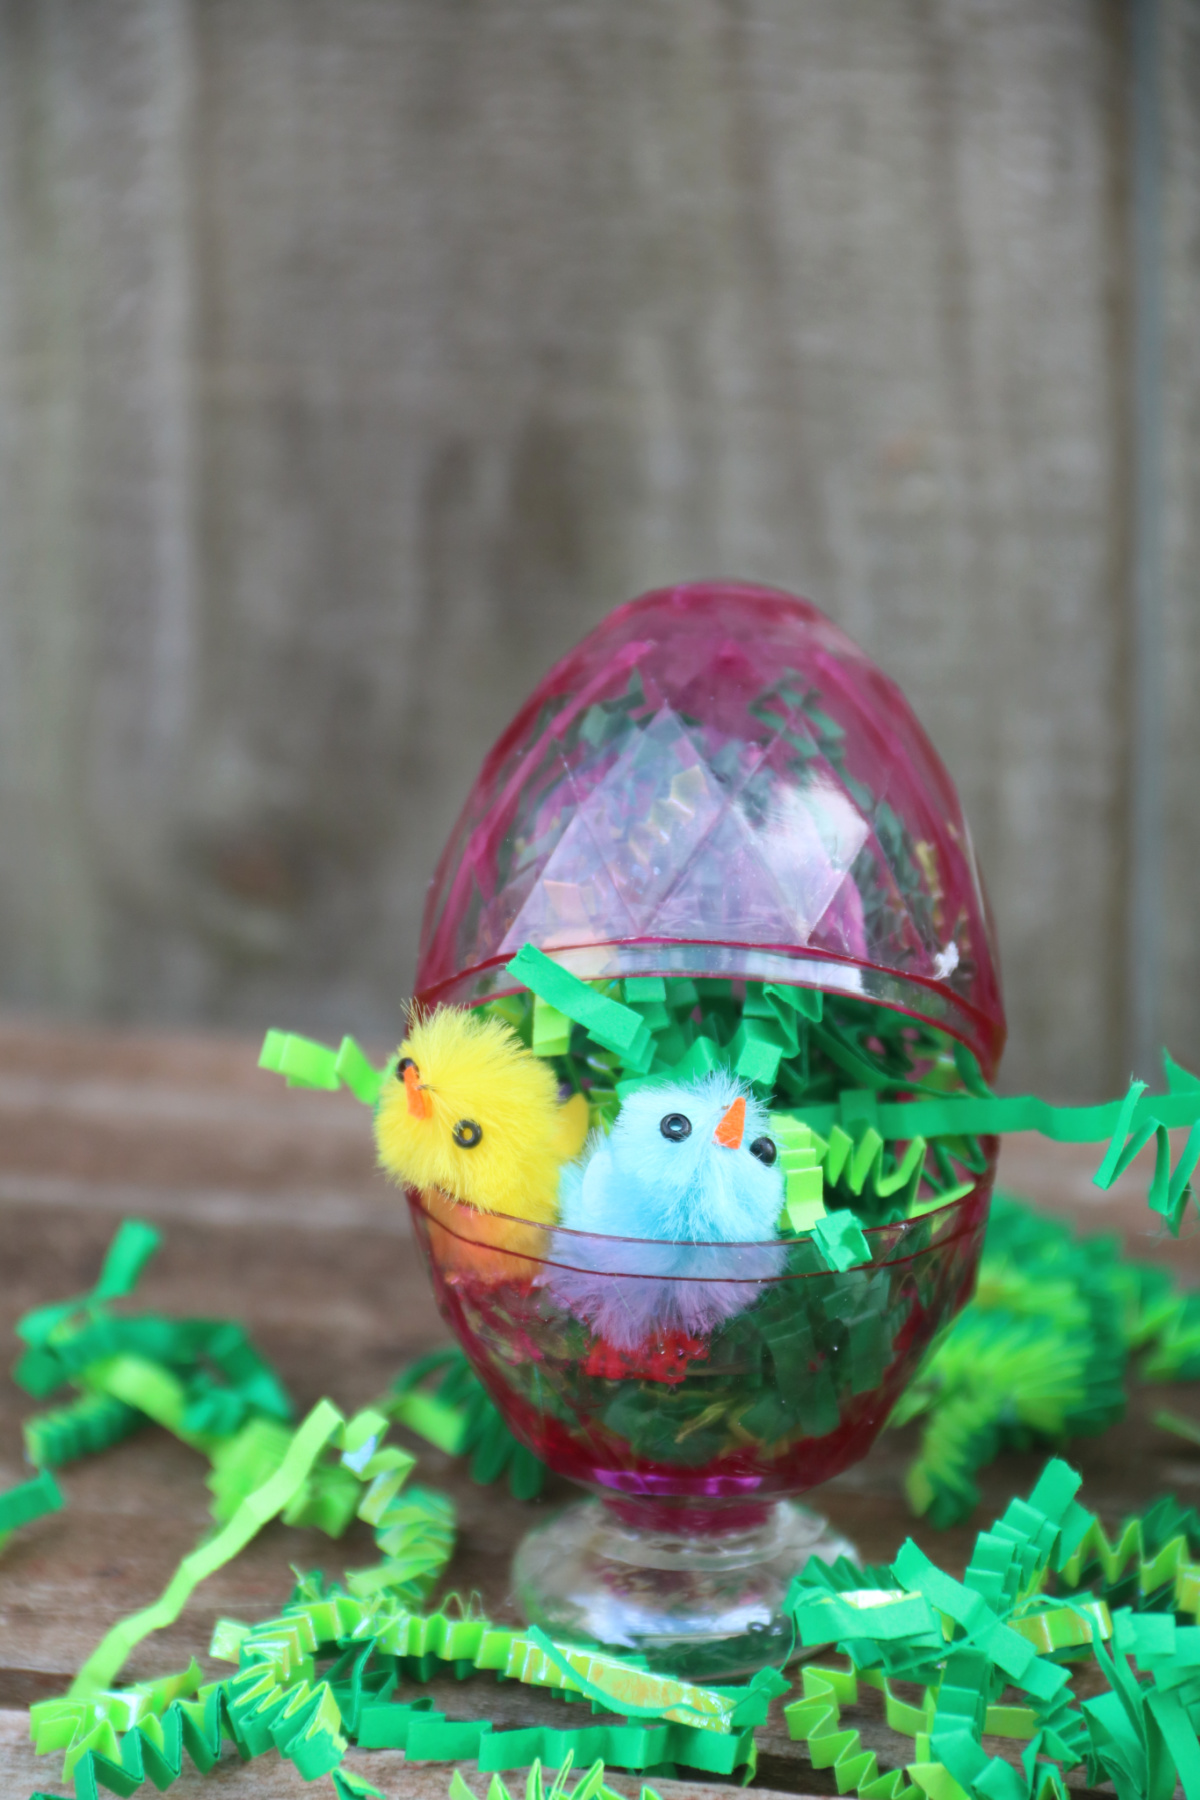
With Easter only a week away, I wanted to share this Plastic Easter Egg Nest Craft. It is the simplest of decorations to place on your Easter table and it’s beautiful, too! You can make a dozen Easter Egg Nests in well under an hour and they are just beautiful!
**Full Disclosure: This post contains affiliate links. I may earn a small commission at no cost to you.
HOW TO MAKE A plastic easter egg nest craft –
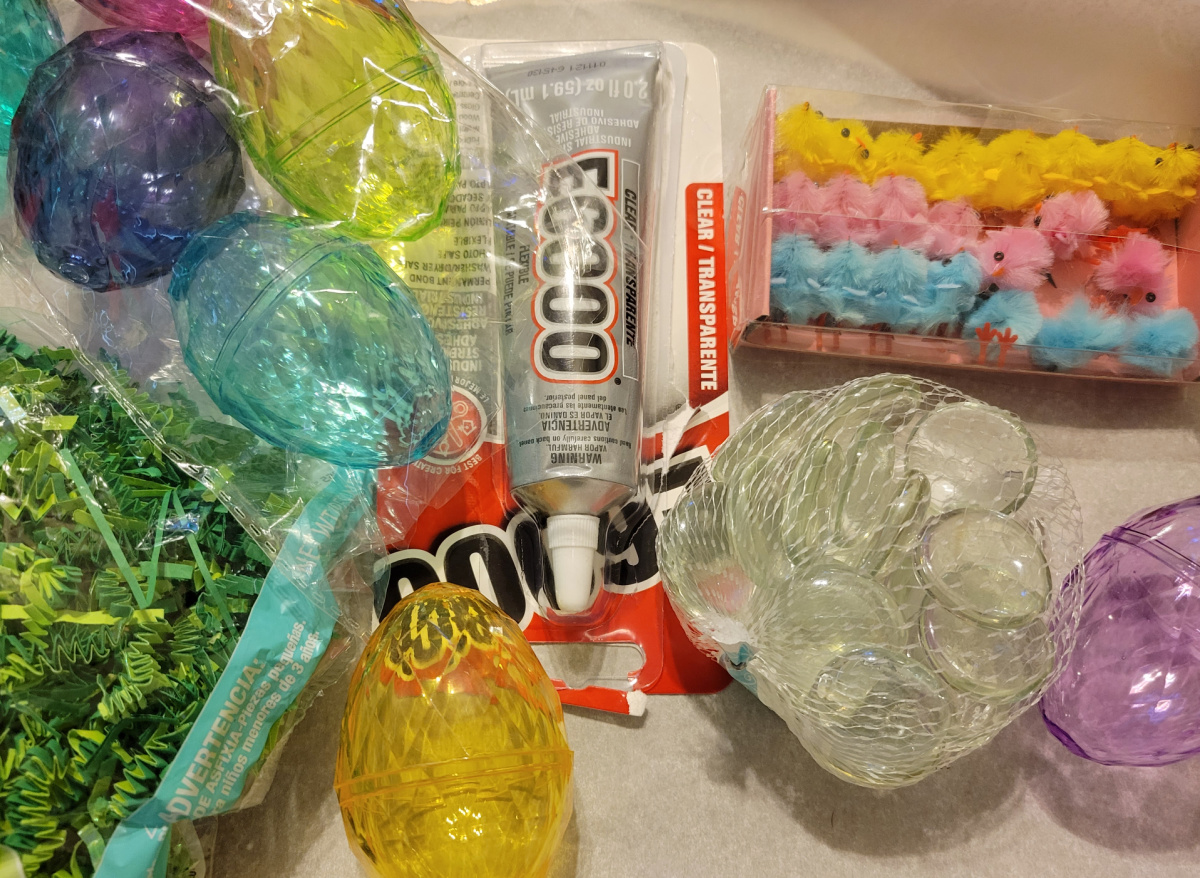
Supplies:
- Hot Glue Gun (or E6000 Glue)
- Plastic Easter Eggs
- Green Paper Easter Grass
- Tiny Easter Chicks
- Extra Large Glass Gems (I buy these at the Dollar Tree!)
- Parchment Paper
Directions:
- Line your table or tray with parchment paper.
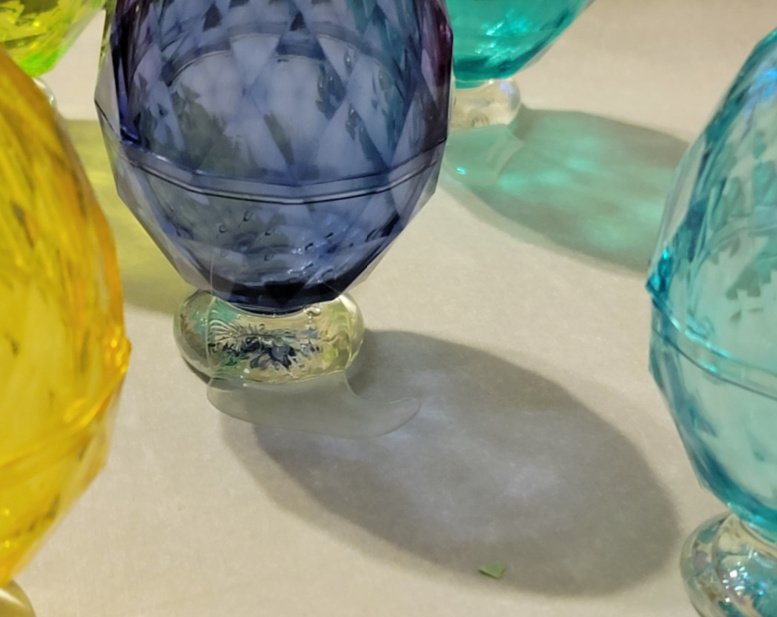
- Set your glass gems out, flat side down, put a dollop of E6000 (or hot glue) in the center of the gem.
- Put a decent amount of glue on the bottom of your plastic egg.
- Gently push the egg onto the glass gem and hold until the glue starts to set. (This step takes the longest.)
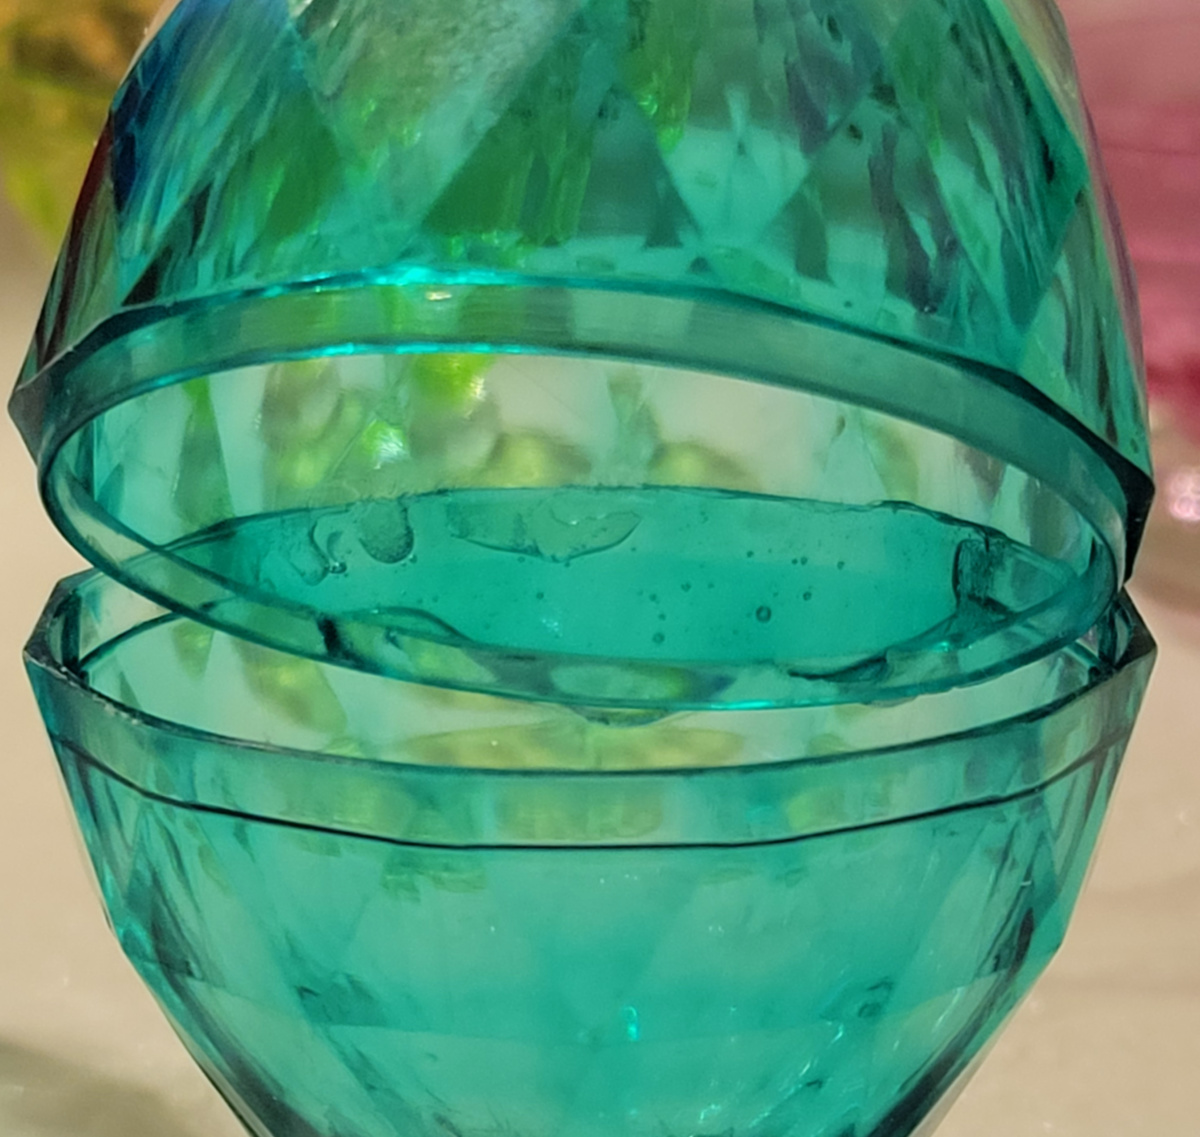
- Once the glue is set, remove the top of the egg and glue it like a clamshell to the bottom. You can either put it inside (this is the more stable option) or outside (which allows a little more space for the opening). Again, hold until the glue is set pretty solid.
- Fill the opening with green paper grass.
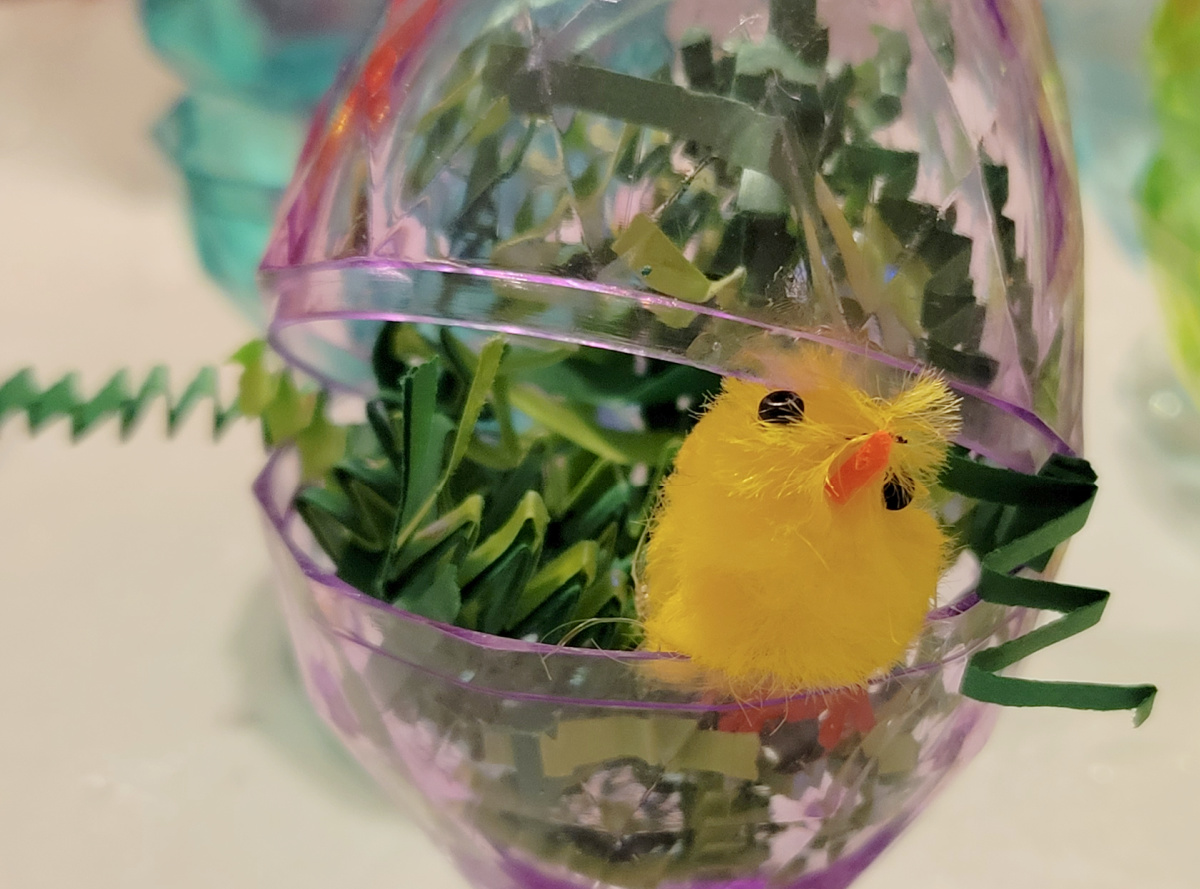
- Add a tiny Easter chick (or two, or three!) to the inside of the egg. I glued mine in but it isn’t necessary.
- Find a cute spot to display and enjoy!
I took the decorations I made to work and placed one Easter Egg Nest on each of my co-worker’s desks. They all loved them which, of course, made me happy!
Do you put up Easter decorations?
YOU WILL ALSO LOVE:
If you like this post, you’ll love these that I’ve picked out just for you!

So adorable. Kiddo would love to make these!