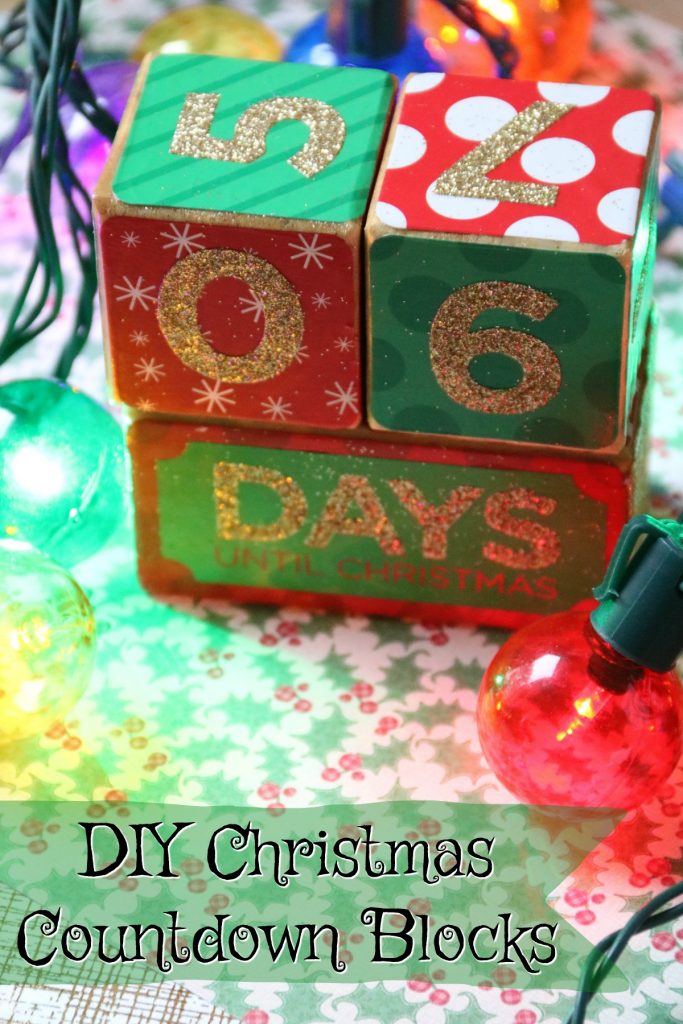
After Thanksgiving, the countdown to Christmas is on! I enjoy chocolate advent calendars as much as my kids do but we don’t need more candy in the house so I’ve found the next best thing – DIY Countdown Blocks!
**Full Disclosure: This post contains affiliate links.
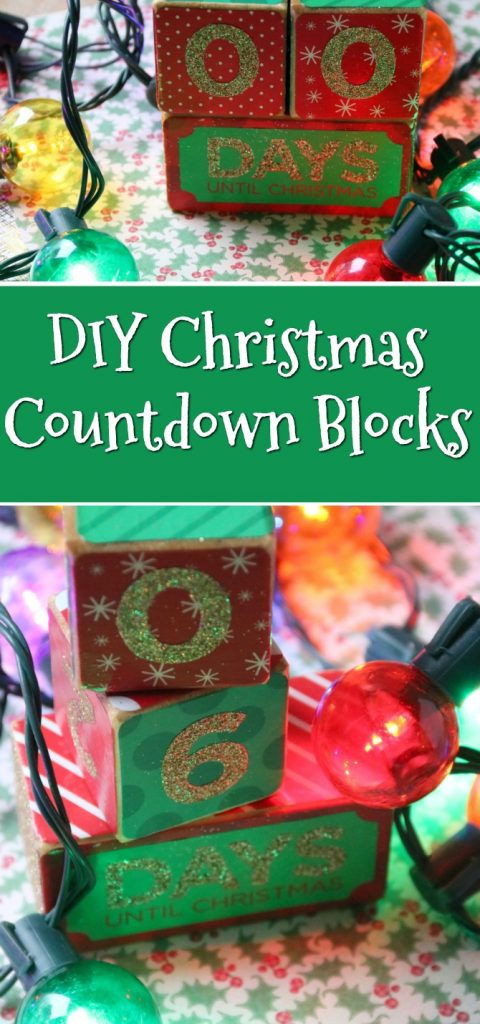
DIY Countdown Blocks –
Supplies:
- Wooden Blocks – two 2×2 and one 2×4 (make them or buy them at a craft store)
- Number & Letter Stickers
- Acrylic Paint
- Mod Podge
- Optional: Holiday Scrapbook Paper (cut to fit just inside each side of the blocks)
Directions:
- Paint wooden blocks as desired.
- Allow plenty of time to dry.
- Optional – if you are using scrapbook paper, glue a piece on each side until all blocks are covered.
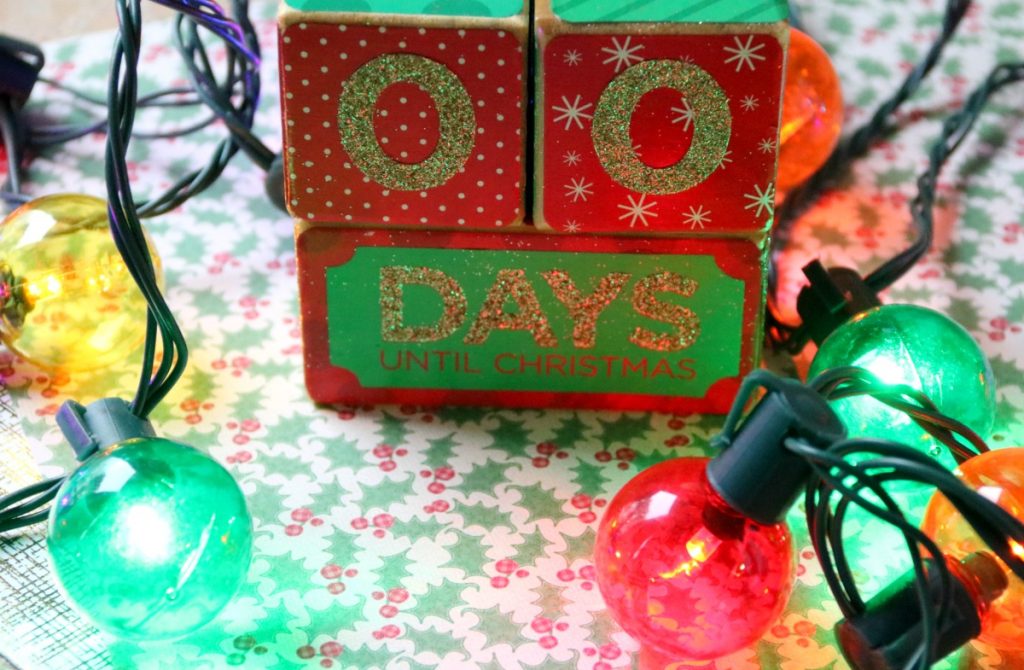
- Place number stickers on the 2×2 blocks.
- On the first 2×2 block, you’ll use 0, 1, 2, 3, 4 and 5. One number on each side.
- On the second block, use numbers 0, 1, 2. 6, 7 and 8. One number on each side.
- Paint or sticker ‘days ’till Christmas’ on the 2×4 block.
- Apply mod podge one side at a time to all three blocks.
- Put the DIY Countdown Blocks in an easy to reach spot and enjoy!
Note: The number 6 is also meant to be used as the number 9.
DIY Countdown Blocks are reusable from year to year. And, if your storage boxes look anything like mine, you don’t have a lot of space for new decorations so it’s a good thing these blocks are fairly small!
With a little imagination, the countdown blocks could be used for anything from vacation to birthdays, other holidays and more! Simply update the colors to a more neutral palette, use chalk paint without mod podge for the ‘days ’til’ block and get a chalk pen to customize the block for each event!
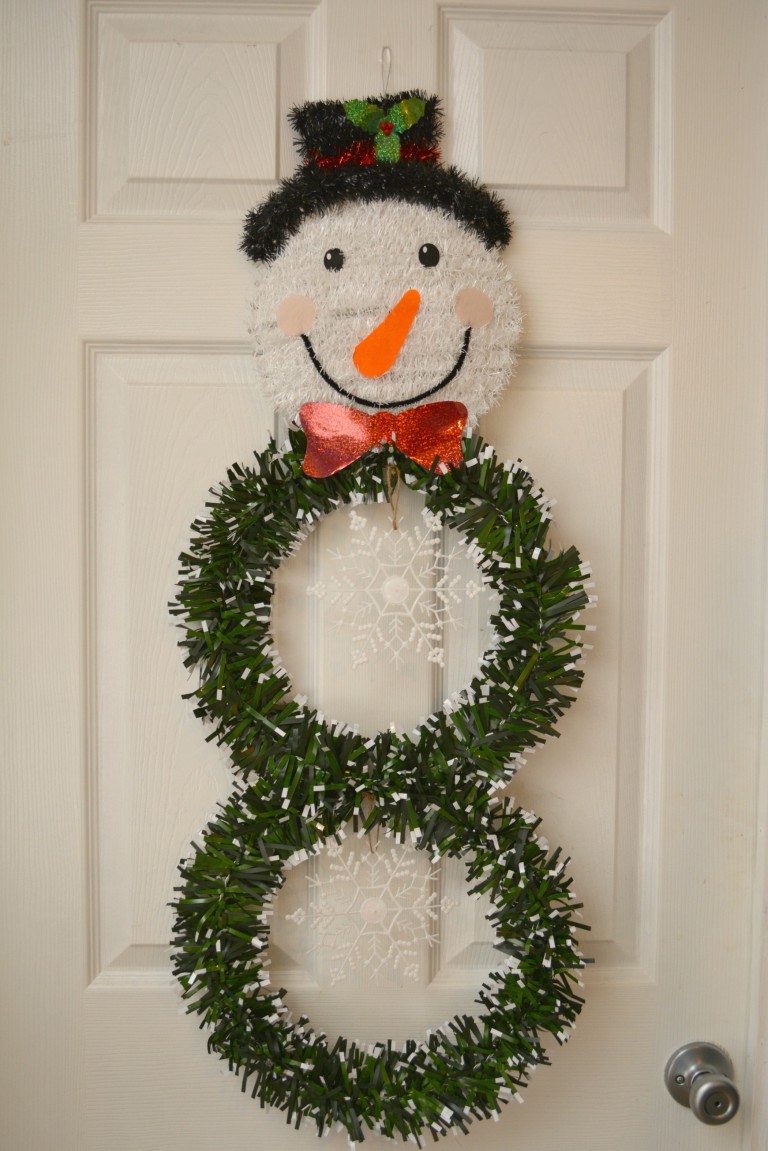
YOU WILL ALSO LOVE:
If you like this post, you’ll love these that I’ve picked out just for you!

Oh my goodness these are the cutest. I’ve never used Modge Podge but looks easy enough!
You’ve NEVER used Mod Podge?! I think it’s time to change that!!