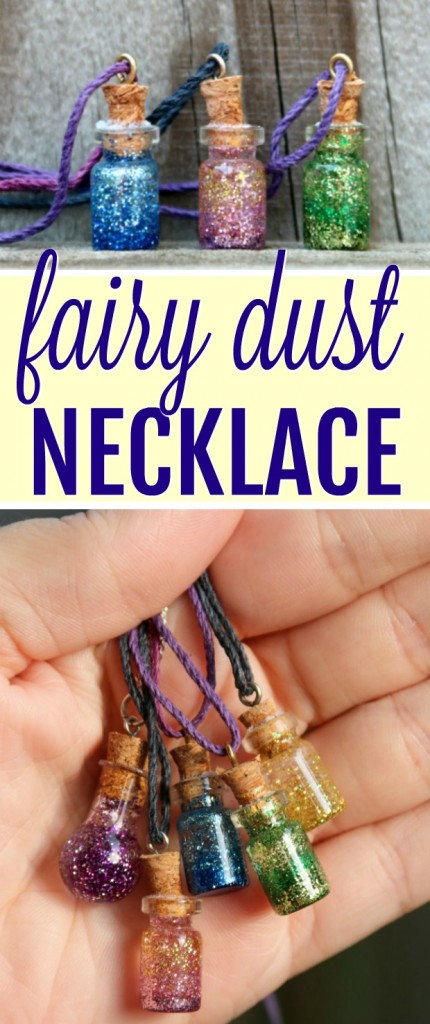
Earlier this summer I was busy planning crafts for VBS. MomDot’s Element Jars made the list because they are very cool! But the jars I ordered were so incredibly small – way too small to use for Element Jars. I didn’t want to waste the teeny tiny jars, though, so I put my thinking cap on and decided they would be perfect to make a Tinkerbell inspired Fairy Dust Necklace.
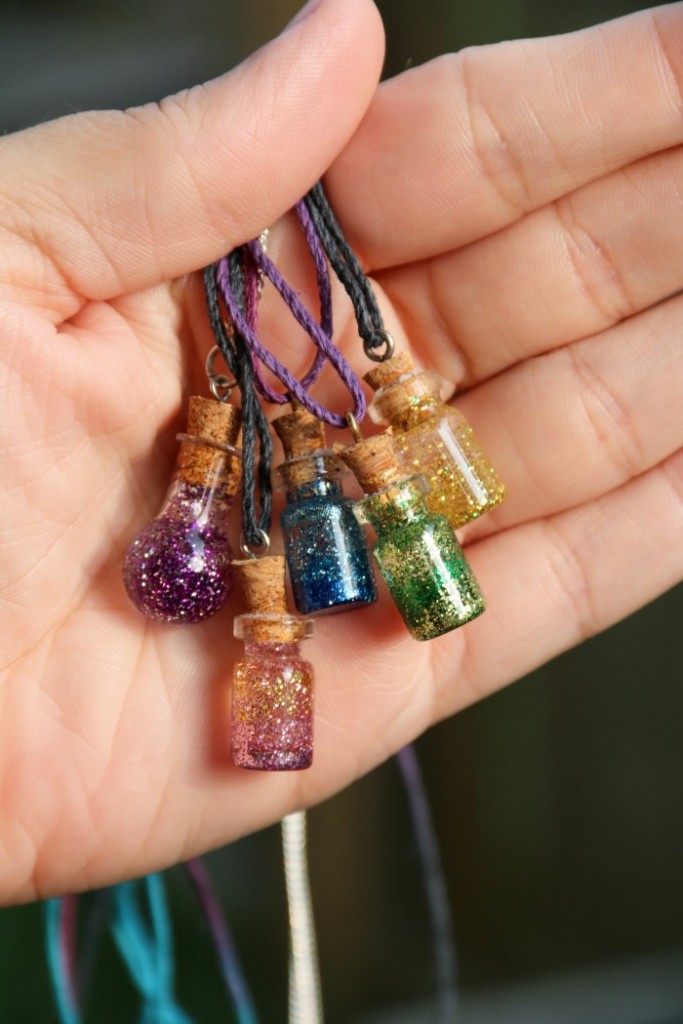
**Full Disclosure: This post contains affiliate links.
How to Make a DIY Fairy Dust Necklace –
Supplies:
- 0.5ml Clear Vial Bottles
- 1/8 teaspoonExtra fine glitter
- Epoxy
- Wax Paper
- Medicine Cups
- Popsicle Sticks
- Chain or cord (small enough to fit through the screw)
- Small funnel, optional
Directions:
- Lay out a sheet of wax paper to protect your work surface.
- In a medicine cup, measure out 1/8 teaspoon extra-fine glitter.
- Measure out 1 teaspoon resin and 1 teaspoon hardener from the epoxy kit and use a popsicle stick to mix it into the glitter.
- Stir until glitter is evenly distributed in the mixture.
- Very carefully pour the mixture into the mini vials.
- Allow the vials to dry for at least 24 hours before putting the stopper back on and attach it to a necklace.
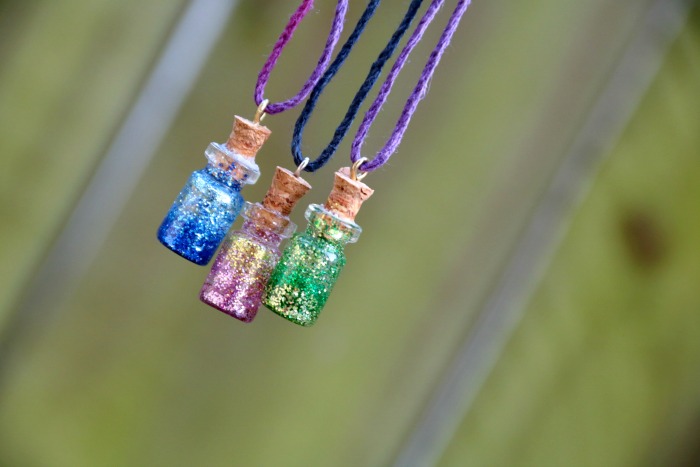
Allowing the resin to cure is the longest part of the process as it only takes about 10 minutes to create the mixture and fill the vials. Depending on the vials you purchase, you may need to get creative in how you allow them to dry since the fancy ones don’t have flat bottoms. I set the one with the round bottom at an angle so the fairy dust would look like it wasn’t even.
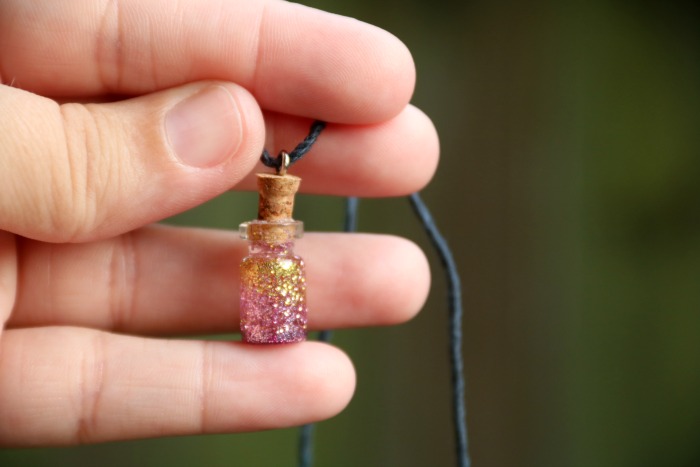
I just love how these Tinkerbell inspired necklaces turned out and I can’t wait to make more for my family and friends! Of course they’ll look great with just about any outfit but I think they’ll be especially cute for a trip to Disney.
Do you know someone who would like a Fairy Dust Necklace?
These are so adorable and creative. Perfect little gift for a Disney trip too!
you forgot to list the small fastener loop on top. What it is called and size?
Hmmm. It came with my little containers so I’m not really sure.