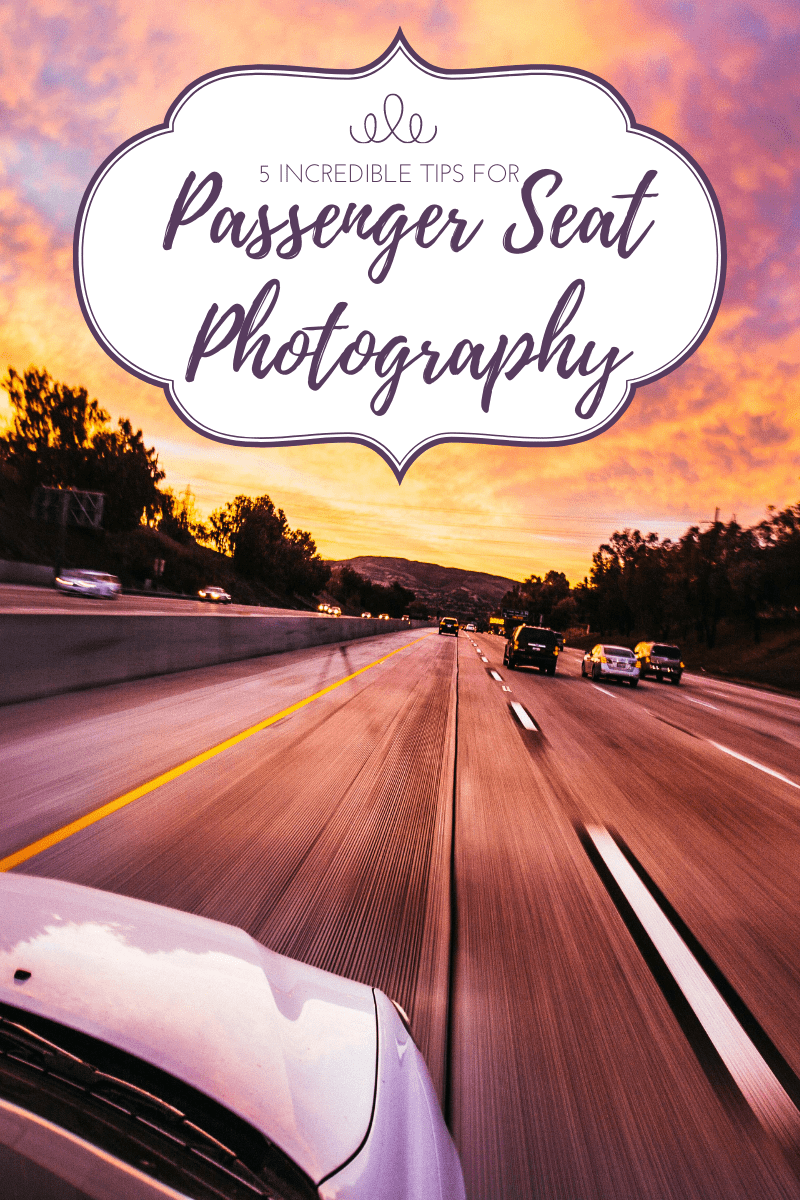
One day my husband and I were taking a drive and he said, “You should write a post about passenger seat photography and how to get the best shot.” Now, let me preface this by saying that I wouldn’t say I’m an expert in passenger seat photography. Mostly it’s trial and error but I think I’ve gotten pretty good at getting the shot I want in the short amount of time I have to do so.
**Full Disclosure: This post contains affiliate links. I may earn a small commission at no cost to you.
5 Incredible Tips for Passenger Seat Photography –
Camera
Most of the time, I use my phone but once in awhile I’ll pull out my Canon T6i. If you are using anything other than a phone camera, make sure you put it on “sport mode.”
Where to Place Your Camera
If you’re shooting out the windshield or passenger window, make sure you hold your camera as flat as possible to avoid glare. When shooting out the passenger window, if at all possible, I like to roll my window down so I don’t have to worry about a glare.
Angles
Sitting in the passenger seat allows you to relax and look out the windows with a new set of eyes. Being on the road provides many great angles and new perspectives, so take advantage of them! Keep your eyes open (rather than napping) for interesting elements like sunsets, unique houses, fun trees, etc.
Readiness
Stay at the ready because when you are traveling down the highway at 65+ miles per hour, whatever you want to capture is going to be gone in a flash!
Accessories
Passenger seat photography, as with most art, is experimental. Try different angles, see what you like best. With digital cameras, you don’t need to be afraid to take the shot so you can review and share or delete later.

I’m usually driving so I don’t often get the opportunity – I tend to just pull over, but I remember in Canada I was on a bus and really wish I had gotten better shots through the window. Could have used these tips!