As much as I enjoy crafting, the harder the project, the less likely I am to have the patience to see it through. That’s why super simple crafts, like this Easter Egg Rag Wreath, are my thing. And, the supplies cost less than $10. Wreaths are an easy way to decorate for the season and it doesn’t take much space to store them from year to year.

**Full Disclosure: This post contains affiliate links.
Easter Egg Rag Wreath Tutorial –
Supplies:
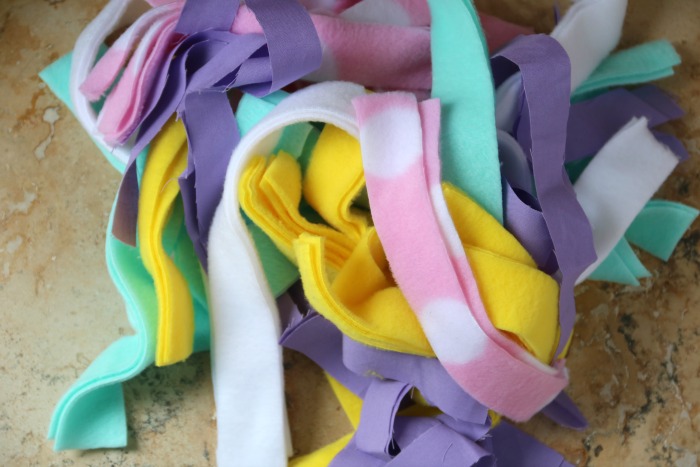
- Five colors of fleece – I used 1/4 yard of purple, yellow, blue, white & pink polka dot.
- Wreath frame – I bought a chipboard decoration from the Dollar Tree because I couldn’t find an oval wire frame.
- Rotary Cutter
- Self-Healing Mat
- Straight-edge (I used a yard stick.)
Directions:
- Cut the fleece into 3/4 inch by 7 inch strips. (I used a straight-edge and eyeballed it, but 0.75×7 was my goal.)
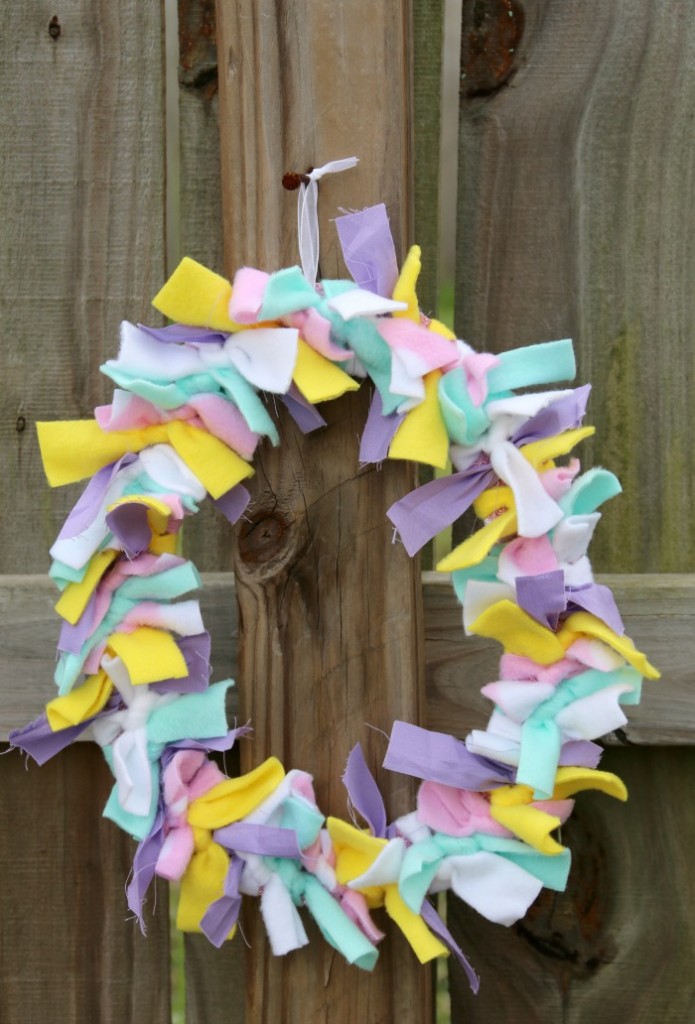
- Tie the fleece onto the wreath frame using an overhand knot.
- Optional: Add a cute ‘Happy Easter’ sign to the middle of the egg and/or a plush bunny to the bottom. I purchased both of these things from the Dollar Tree.
- Hang it on a wreath hanger and enjoy!
I cut the strips of fleece one evening while my husband and kids were playing video games. The next day while everyone was at work or school, I pulled out the wreath frame and fleece strips. In under 30 minutes, I had a fantastic Easter Egg Wreath!
But then I flipped it over and saw how cool the back of the wreath looked. In the spur of the moment, I decided to trim off the rag part of the wreath and glue a sign and a bunny to the wreath to make an entirely different look.
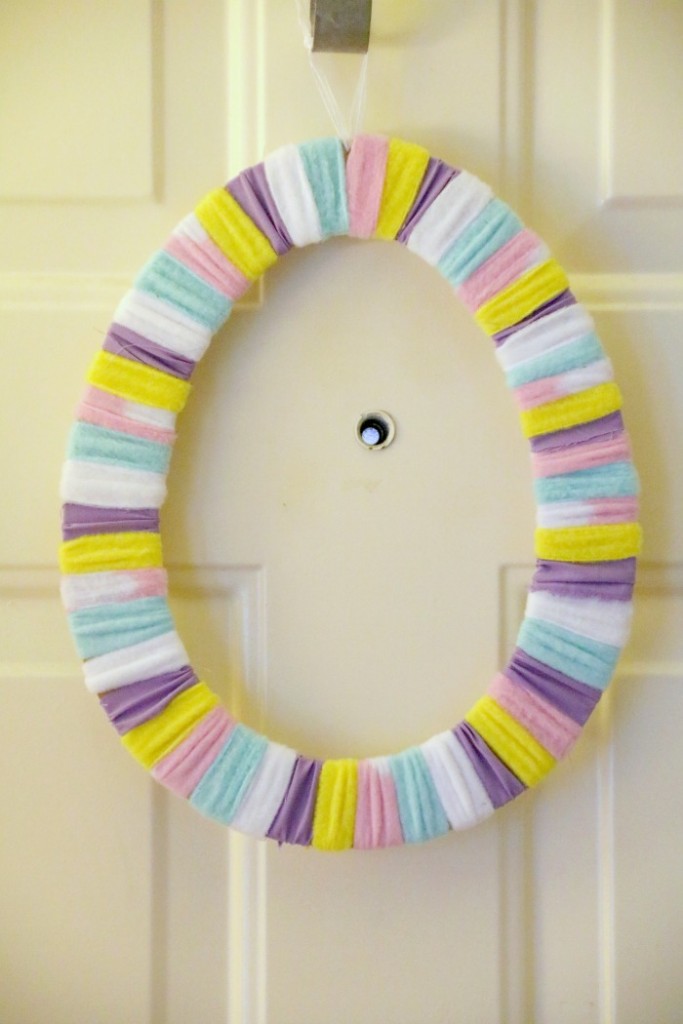
I like both options but since I cut off the rags, I’ll use this one for this season and make another original to store in my Easter decorations tub for next year!
Have you ever made a rag wreath?


This is so cute and yes, easy. I love it! So colorful and get’s me ready for Spring!