**Full Disclosure: This post contains affiliate links. If you make a purchase, I get a teeny-tiny percentage at no cost to you.
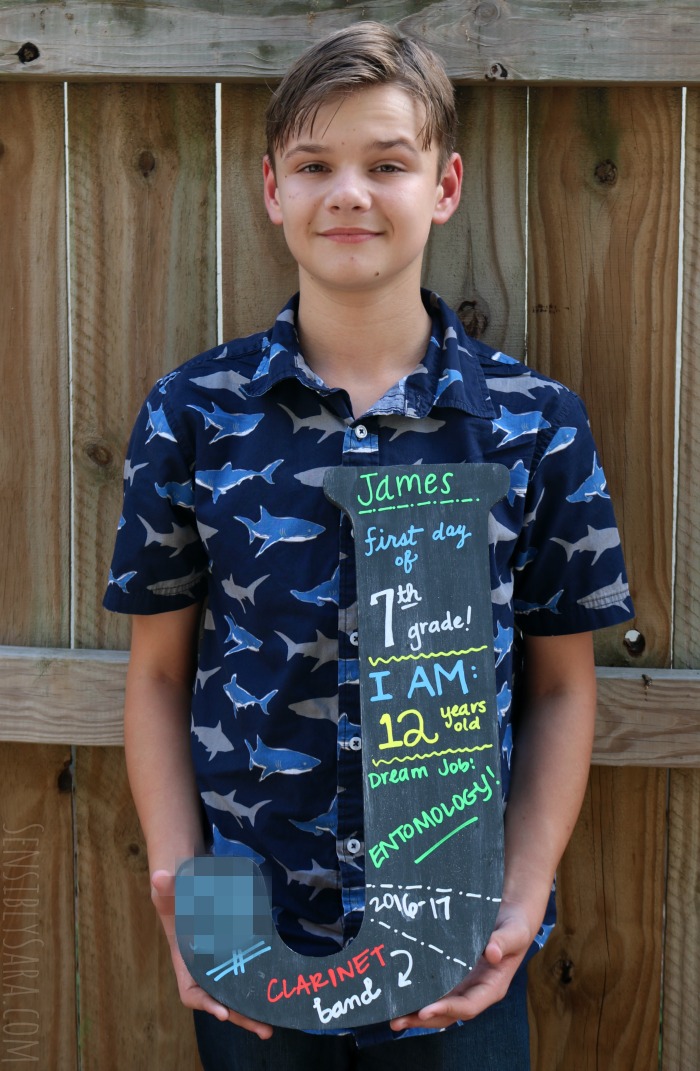
As the start of school approaches, I start thinking about where I put my cute back to school sign after we used it last year. I’ve forced my kids to hold that sign for back to school photos over the last few years. While I like the design, the only thing that’s remotely personal about the sign is the grade number in the center of the paper.
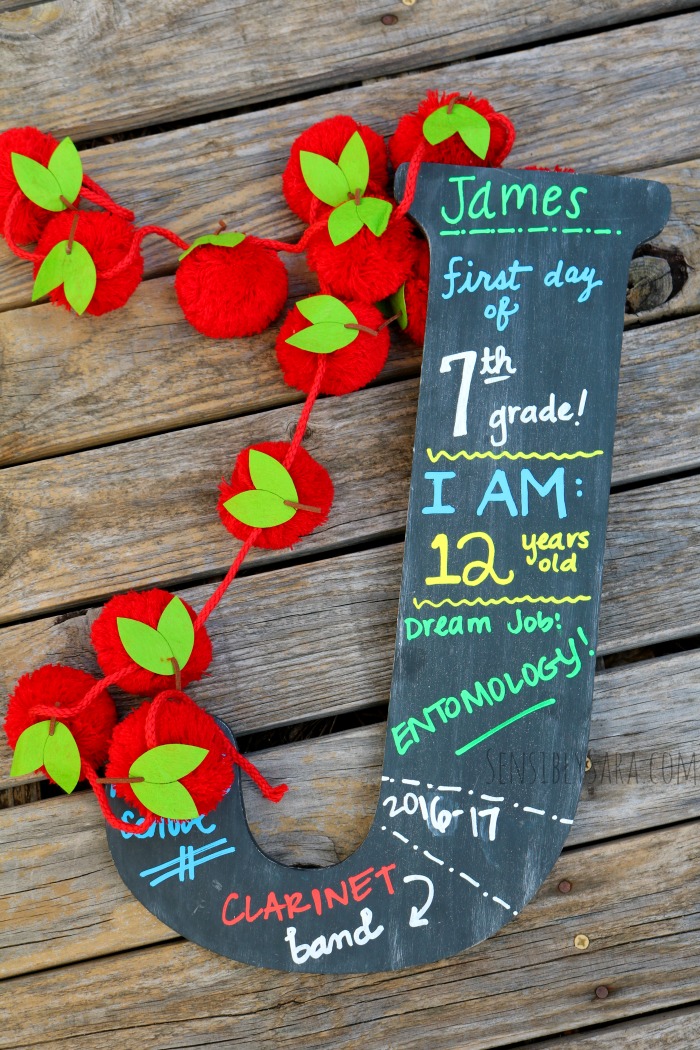
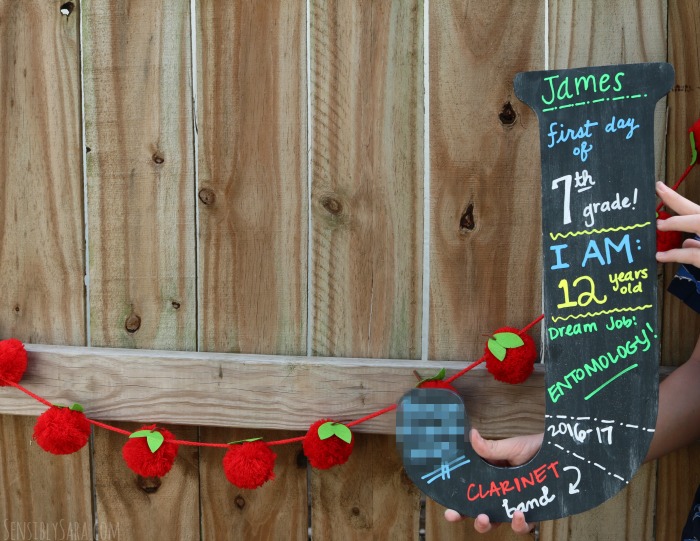
Last year, I had the brilliant idea to make a Reusable Initial Chalkboard Back to School Sign that can also be used as bedroom decor between school years. And, the best part is, you can completely customize the sign from year to year to include whatever information is important to you!
Schoolnitials: DIY Chalkboard Back to School Sign –
Supplies:
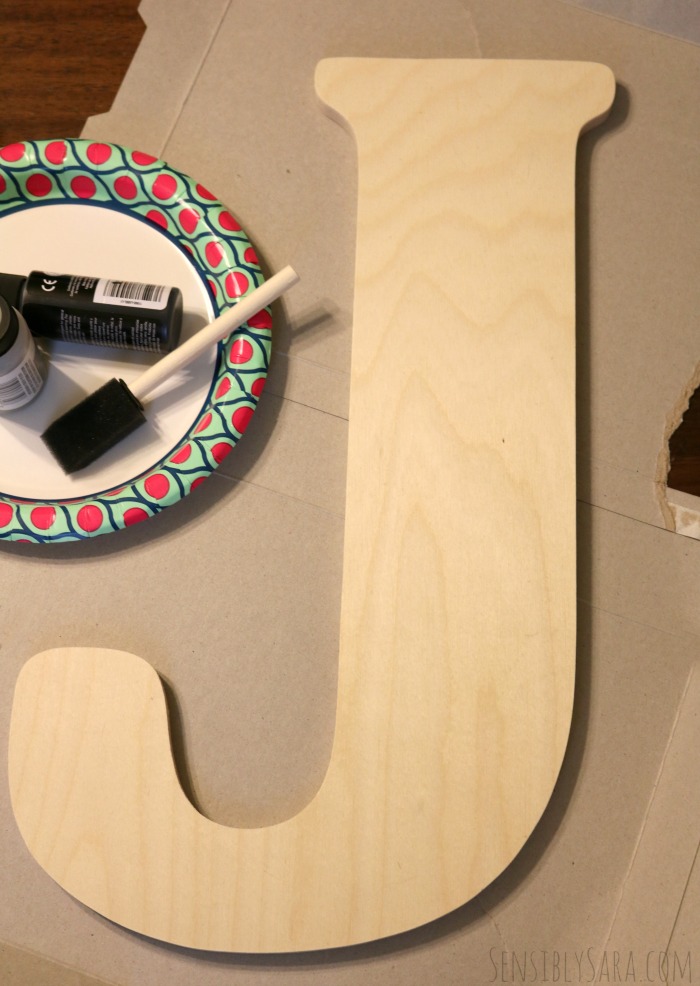
- Wooden Letter(s)
- Sand paper or electric sander
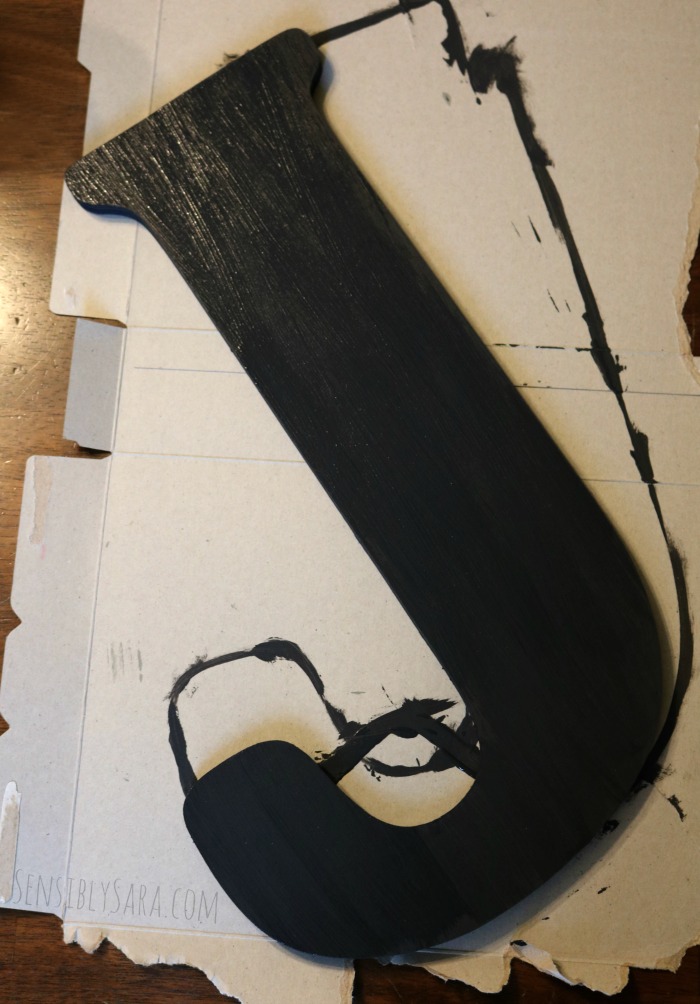
- Chalk Spray Paint
- Chalk
- Chalk Markers
Directions:
- Buy a wooden letter.
- Sand it down until smooth.
- Use the chalk spray paint and coat it generously.
- Allow paint to dry for 24 hours.
- Using regular chalk, ‘cure’ the letter by coloring it in all directions.
- Let it sit for 24-48 hours.
- Wipe the letter clean with a damp cloth.
- Decorate the letter with the chalk markers. Include your child’s name, milestones like the grade, teachers’ name, school year, dream job, etc.
- Schoolnitials can be used as wall art when not in use for back-to-school pictures.
This August I’ll remove the information that needs to be changed from last year and replace it with updated facts. I just love how they turned out! For me, the chalkboard back to school sign far better than a generic piece of paper with the grade my child is entering.

So creative! We use the same sign every year too – it’s a great tradition! I like yours in that it gets really personal with details!